Output
Saves the result of data flow in an outer dataset.
Overview
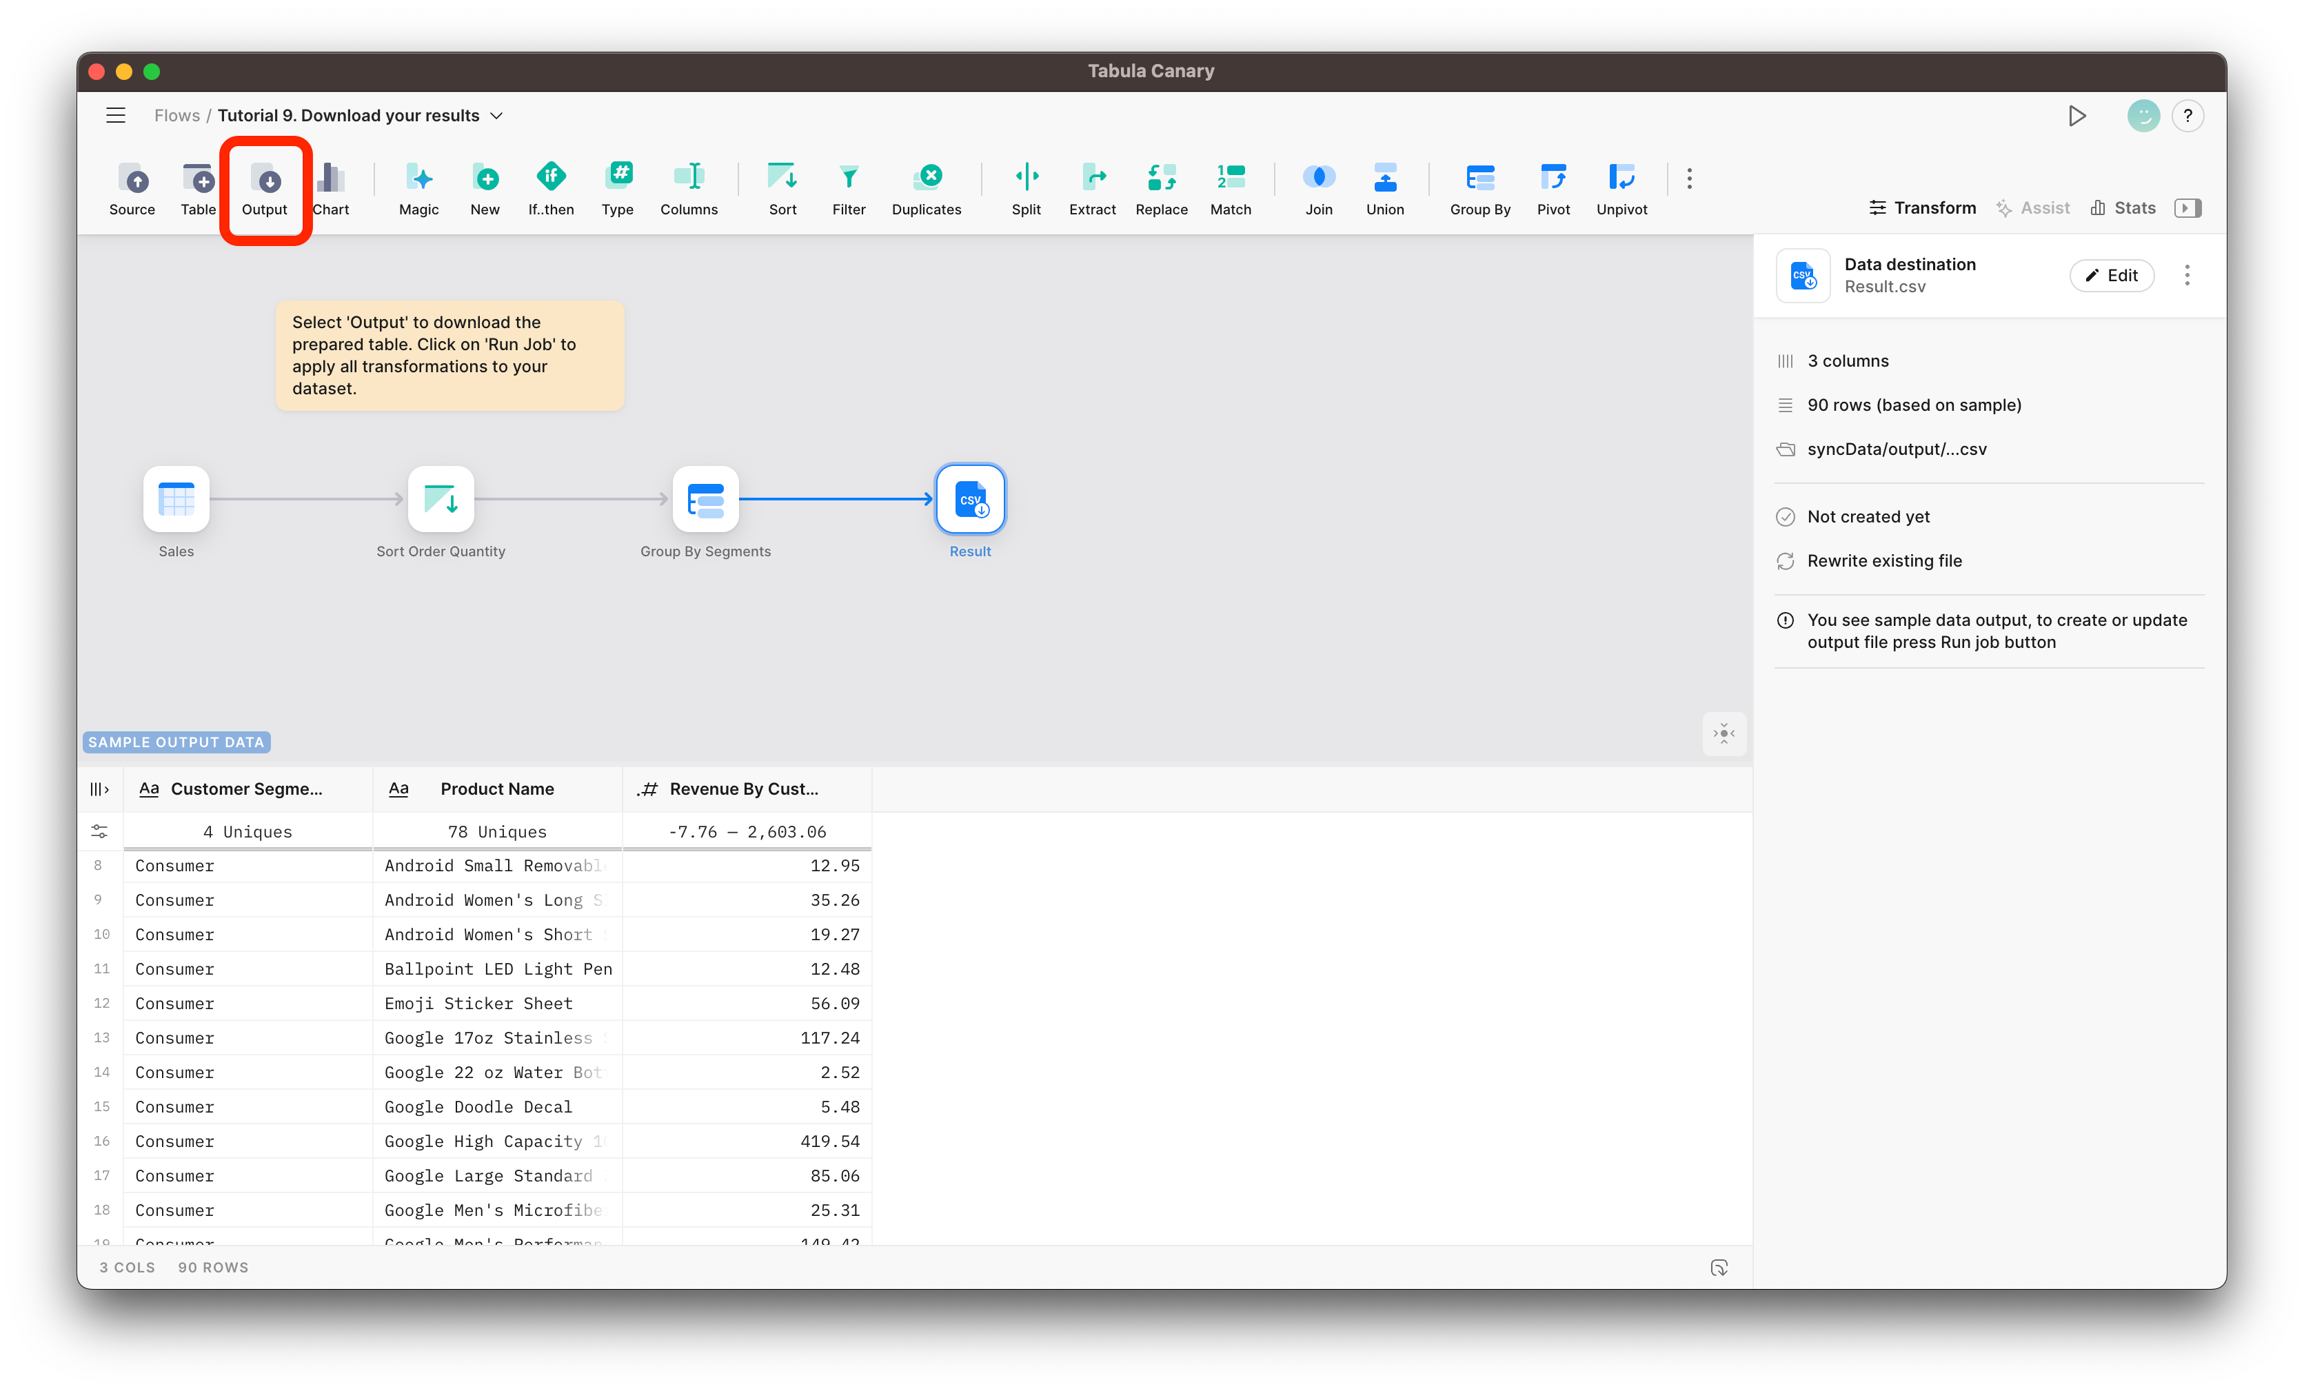
The Output Node is the final step in your data transformation process. It allows you to materialize the results of your data flows directly into your database platforms like Snowflake and Postgres or save them as a local file.
Settings
With the Output node, you can materialize results as a table or a view directly into Snowflake or Postgres or save them as a file. You only could select connectors that were used in Sources, or if you didn't use any external connectors in Source nodes, you are free to select any.
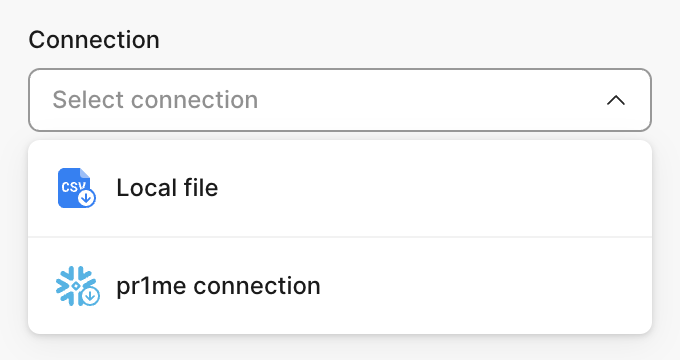
Saving to a local file
Destination folder
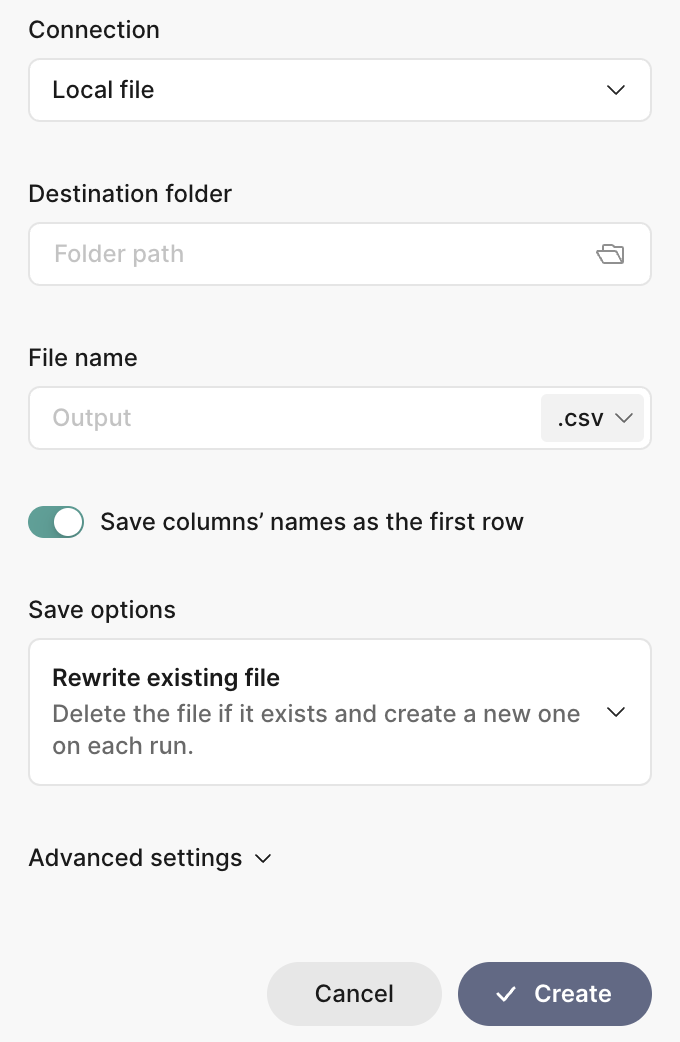
Click on the folder icon to open a window for selecting a folder on the local computer where you want to save the file.
File name
You can choose between two file types to save and specify a name.
*.csv - comma-separated values
*.xlsx - classic MS Excel format
Save columns' names as the first row
If you don't want to save table headers, turn this off. By default, the option is set to save column names as the first row.
Save options
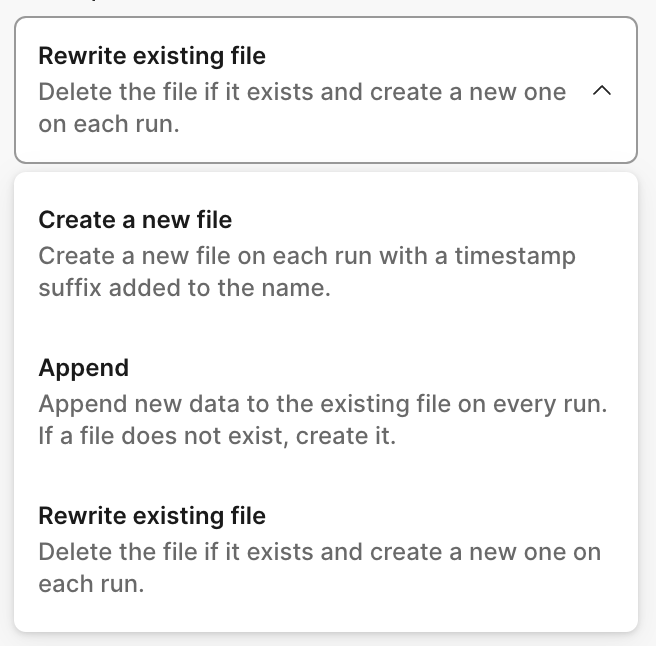
Rewrite the existing file. Delete the file if it exists and create a new one on each run.
Create a new file. Create a new file on each run with a timestamp suffix added to the name.
Append. Append new data to the existing file on every run. If a file does not exist, create it.
Advanced settings
In the advanced settings, you can select which character to separate values: comma, semicolon, tab, space, or custom symbol.
Materializing as a table or view
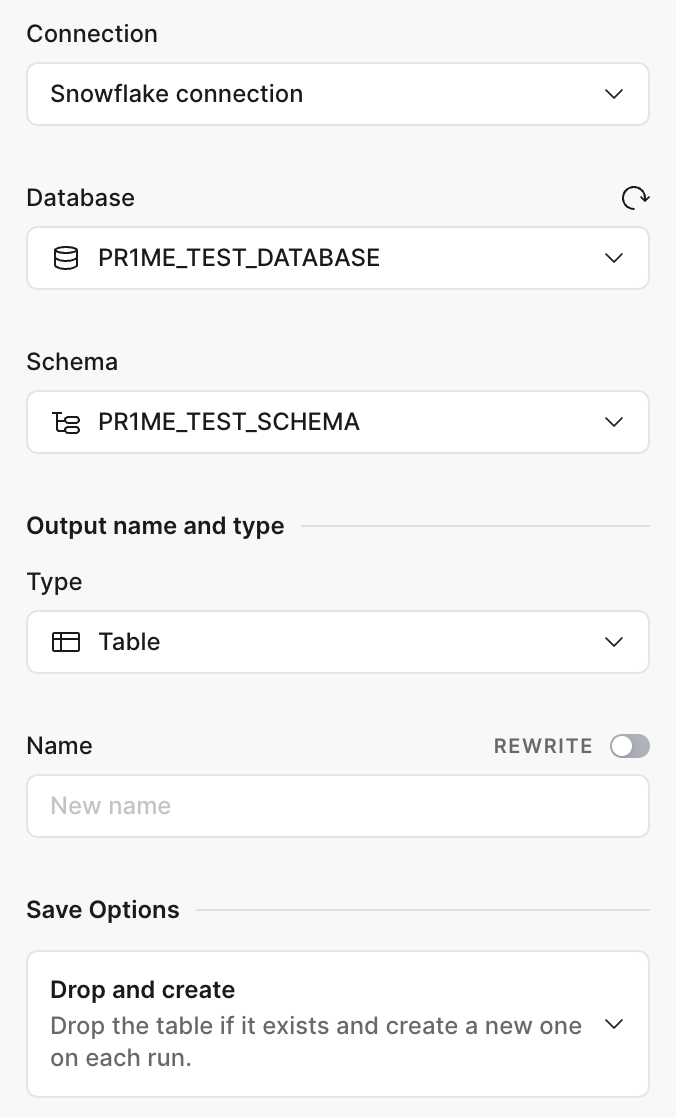
Database (only for Snowflake)
Select the database you want to save to. Use the refresh icon if you believe that database or schema lists are not the latest ones.
Schema
Select a target schema from the list.
Name
Specify a table or view name. You can also toggle REWRITE to select from the existing views or tables.
Type and Save Options
The following materialization options are supported:
View (drop and create a new view on each run)
Table
Create (drop and create a new table on each run)
Append or update (append or update data on every run)
Incremental update (update table on each run using custom filters)
Table materialization
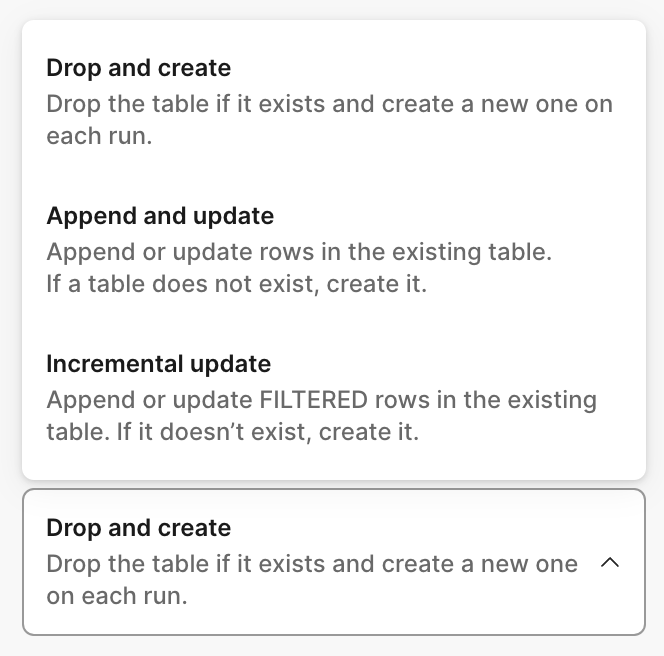
Drop and create
Drop the table if it exists and create a new one on each run.
Append and update
Append or update rows in the existing table. If a table does not exist, create it.
Incremental update
Append or update filtered rows in the existing table. If a table does not exist, create it.
Unique key (only for Append and Incremental Update options)
Optionally, if you can set a unique key, the records with the same unique keys will be updated. A unique key determines whether a record has new values and should be updated. Not specifying a unique key will result in append-only behavior, which means all filtered rows will be inserted into the preexisting target table without regard for whether the rows represent duplicates.
Incremental Update
The first time you execute a flow in Tomat, a new table is generated in your data warehouse by transforming the entire dataset from your source. For any subsequent runs, Tomat will only process and transform the specific rows you've chosen to filter, appending them to the already existing target table.
Typically, you'll filter rows that have been added or updated since your last flow run. By doing so, you're minimizing the volume of data that needs to be transformed, which speeds up the runtime, enhances your warehouse's performance, and cuts down on computational expenses.
Condition to filter records (only for Incremental Update options)
Set a boolean condition to tell Tomat which rows to update or append on an incremental run.
You'll often want to filter for "new" rows, as in rows created since the last time the flow was run. The best way to find the timestamp of the most recent run is by checking the most recent timestamp in your target table. Use $target to query to the target existing table. You can point to any column in the target table, adding a dot (.) to $target -> $target.my_column
In the example below, only the following rows will be updated where last_updated_time are bigger than the maximum last_updated_time in the existing table.
Last updated